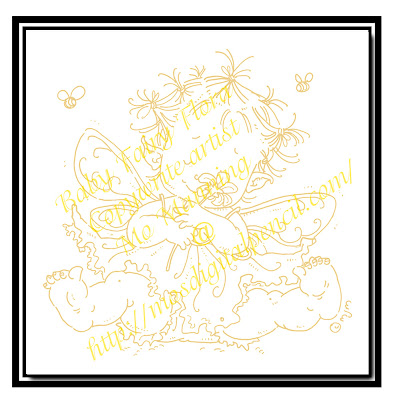
So I've been seeing all of these lovely projects with no black lines stamping, using a very light-colored stamp ink. Since I mainly use digital stamps, I needed to figure out how to do this in my trusty Adobe PhotoShop. Oh, I muddled through (prob could have found something on the web ;), but determined to figure it out for myself. Since I use CS5, these are the steps I took to achieve the "look" of no black lines when using a digi stamp. Of course, you'll need to be able to print in color, so that's the first tip ;)
Here's what I did:
- Opened image in CS5 (sample shown is one of my fave Mo Manning images, Baby Fairy Flora, and can be found here)
- Top bar menu: image>mode> check RGB color, check 8 bits
- Top bar menu: window>check actions, layers, options, tools
- Under layers tab: right click "background layer", duplicate layer
- Under layers tab: you'll now see background layer and background copy
- Under layers tab: click on first background (the one with the lock) and delete
- Top bar menu: image>adjustments>hue/saturation, move lightness bar until you fade the image nearly entirely, click okay
- Top bar menu: image>adjustments>photo filter (make sure preserve luminosity box is checked), click color, click on color box, click on color picker, click on color libraries, choose your color (I use Panatone solid coated) ex. 475c, click okay, move density bar to 100%
- Top bar menu: image>adjustments>hue/saturation, move saturation bar to 50% and lightness to whatever saturation you would like to print.

Here are my results. Hope these steps work for you!
If you'd like to view the completed project with Baby Fairy Flora, you can find it here.
Love,
Wendy


1 comment:
Awesome tutorial. Thanks for sharing!
seo bath
Post a Comment